Installation
Failover Installation(via snap)
Failover is available in the snap store.
Due to restrictions from the snap store, it is currently available only from the edge restriction.
Therefore, you can install Failover by running the following command:
snap install failover --edge --devmode
When Failover is installed, it automatically runs as a daemon.
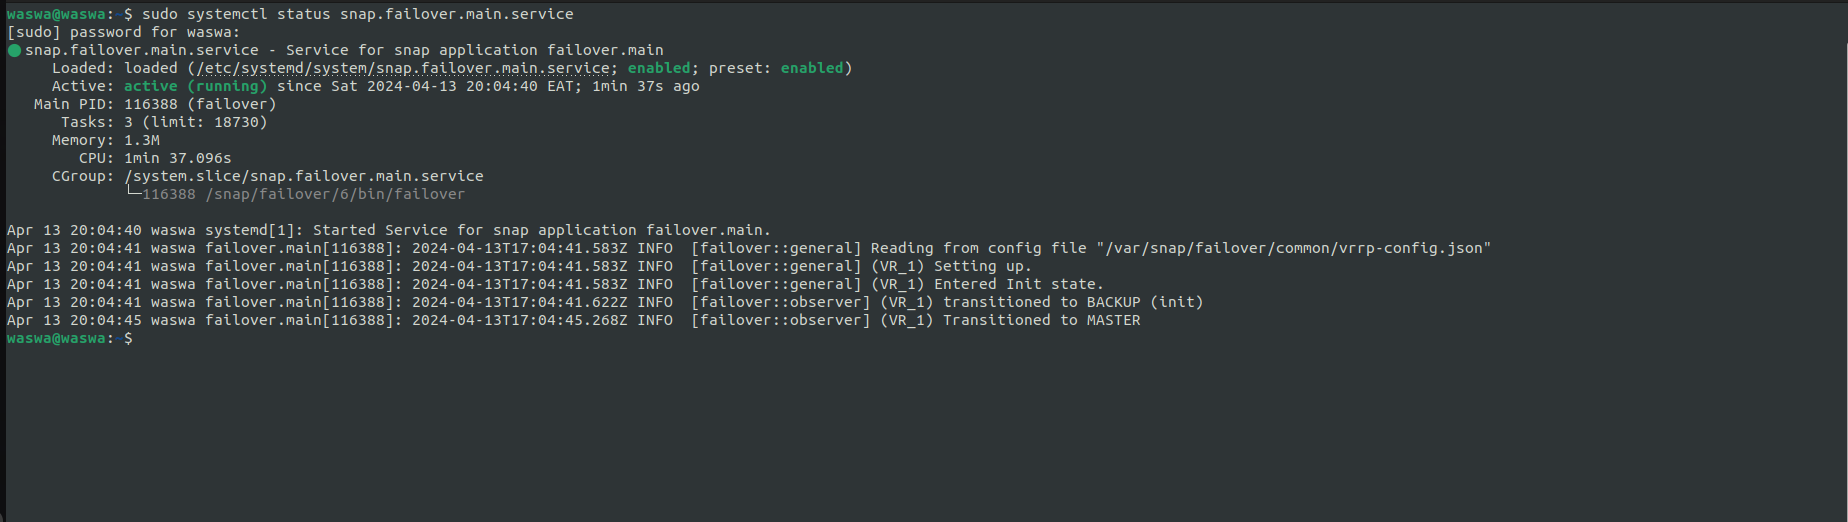
You can check on the status of the service via systemctl using the following command:
sudo systemctl status snap.failover.main.service
You should see the application running successfully if everything is okay, you should have an output such as the following:
When installed via snap, the Failover configs will be stored at /var/snap/failover/common/vrrp-config.json.
Look at the
Running from manual build
Some may choose to install the project via a manual build using cargo. This will need us to have cargo and rust both installed in our system.
For this, we will first need to download the repository from Github and navigate to the directory:
git clone https://github.com/Paul-weqe/failover
If you already have cargo installed in your system, build the project:
cargo build
We can now run the project:
# the following will require sudo permissions
./target/debug/failover file-mode
Make sure that you are root as you are running the above command.
When you are done running failover, make sure to take it down via the following command:
./target/debug/failover file-mode --teardown
To avoid going command by command, we can run the run.sh script immediately after cloning the repository:
./run.sh
There are two command modes you can run Failover with; cli-mode and file-mode.
The next section will cover how to configure and handle both.
Running as Library in Rust
If we need to use VRRP as part of a project, we can also call Failover as part of our Rust project in Rust.
Run the following command:
cargo add failover_vr
We can then use it in our Rust program like follows:
use failover_vr::{self, router::VirtualRouter};
use ipnet::Ipv4Net;
use std::net::Ipv4Addr;
use tokio;
use simple_logger::SimpleLogger;

#[tokio::main]
async fn main() {
    SimpleLogger::new().with_colors(true).init().unwrap();

    let vrouter = VirtualRouter::new(
        String::from("VR_1"),
        51,
        vec![
            Ipv4Net::new(Ipv4Addr::new(192, 168, 100, 120), 24).unwrap()
        ],
        101,
        1,
        true,
        String::from("wlo1")
    );
    tokio::spawn(async {
        failover_vr::run(vrouter).await
    }).await;

}
You can customize this to add your Virtual Routers with your environment specific parameters and they will work as required